
목차
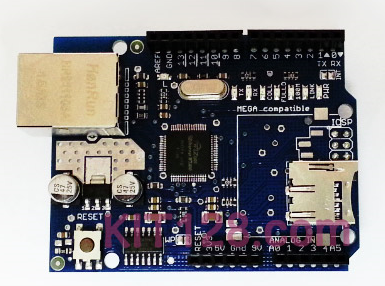
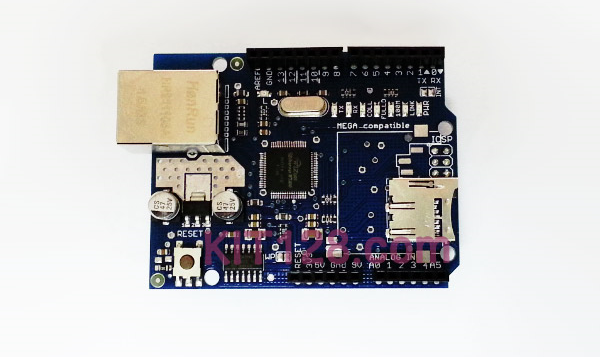
Ethernet Shield
이더넷 쉴드는 아두이노와 연결하여 쉽게 TCP/IP 통신(인터넷, 서버 등)을 할수 있게 해주는 모듈입니다.
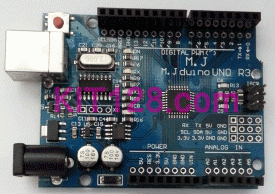
Arduino UNO R3 예제
부품 목록
| 부품명 | Arduino UNO R3 |
|
|---|---|---|
| 기능 | 아두이노 | |
| 수량 | 1 | |
| 판매처 | https://kit128.com/goods/view?no=337 |
| 부품명 | 아두이노 이더넷 쉴드(Ethernet Shield) with SD 카드 |
|
|---|---|---|
| 기능 | Ethernet Module | |
| 수량 | 1 | |
| 판매처 | https://kit128.com/goods/view?no=145 |
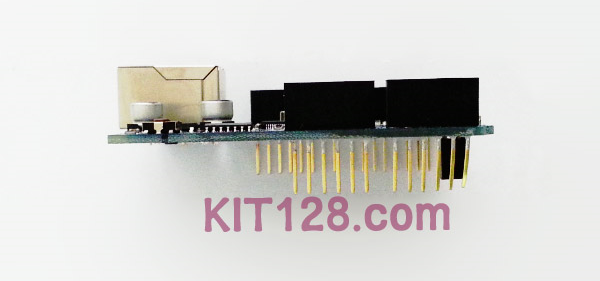
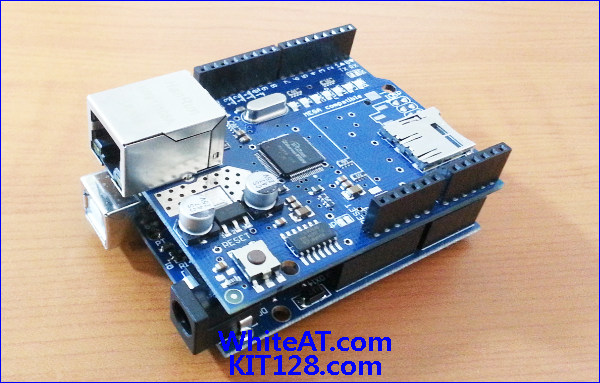
핀 연결
Arduino UNO R3 과 아두이노 이더넷 쉴드를 아래와 같이 층으로 연결합니다.
소스코드
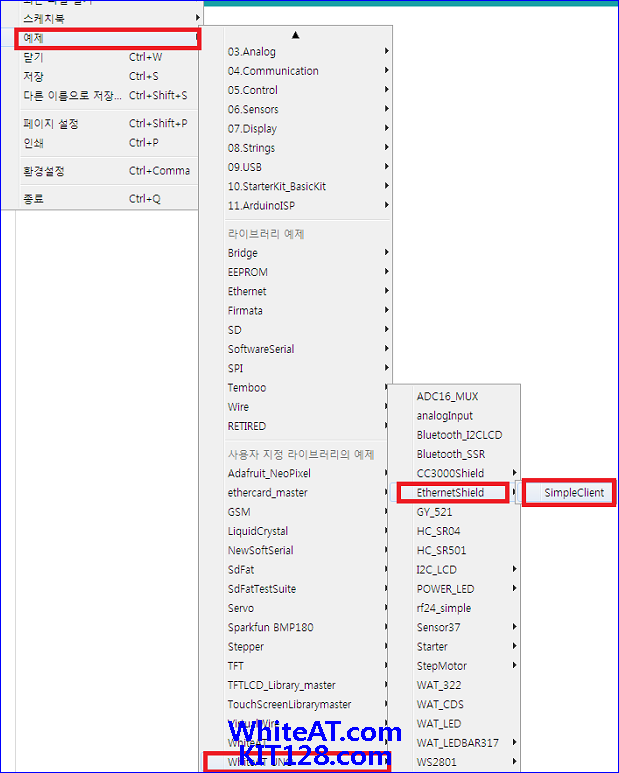
최신 소스코드는 [파일] => [예제] => [WhiteAT UNO] => [EthernetShield] => [SimpleClient] 에 있으며
라이브러리는 아두이노 개발환경 (https://docs.whiteat.com/?page_id=5449) 을 참조하세요
[sourcecode language=”c”]
/*
DHCP 로 IP를 받은 후 서버에서 시간을 가져오는 예제
회로 구성:
Ethernet shield에 10, 11, 12, 13 연결
출처: http://whiteat.com/Arduino
보드
Arduino UNO R3 : https://kit128.com/goods/view?no=337
Arduino Ethernet Shield : https://kit128.com/goods/view?no=145
*/
#include <WAT_Multi.h>
#include <SPI.h>
#include <Ethernet.h>
// mac address : 겹치지 않는 고유의 번호를 지정해야 함
static byte mac[] = { 0x24, 0x2C, 0x2F, 0x4, 0x12, 0x23 };
// 5초마다 TIME 요청
WMulti tTCPSend = WMulti(5000);
EthernetClient client;
void setup() {
Serial.begin(115200); //시리얼 통신 초기화
while (!Serial) { ; }
Serial.println("Arduino Examples -Ethernet Shield");
Serial.println(" https://docs.whiteat.com/?p=2552");
// Ethernet 장치 시작
if (Ethernet.begin(mac) == 0) {
Serial.println("Failed to configure Ethernet using DHCP");
for (;;) {}
}
// 동적으로 할당받은 IP 표시
Serial.print("My IP address: ");
for (byte thisByte = 0; thisByte < 4; thisByte++) {
Serial.print(Ethernet.localIP()[thisByte], DEC);
Serial.print(".");
}
Serial.println();
}
void loop()
{
TaskTCPSend(&tTCPSend);
readTCP(client);
}
void TaskTCPSend(WMulti* _task)
{
if (!_task->IsMyTurn()) return;
if (client.connect("watclean7.com", 80)) {
Serial.println("connected");
}
else {
// 연결 실패라면
Serial.println("connection failed");
}
client.println("POST /time/time.php HTTP/1.1");
client.println("Host: watclean7.com");
client.println("Connection: close");
client.println("");
Serial.println();
}
void readTCP(EthernetClient _client)
{
int size;
if (_client.connected())
{
while ((size = _client.available()) > 0)
{
uint8_t* msg = (uint8_t*)malloc(size);
size = _client.read(msg, size);
for (int i = 0; i < size; i++)
{
Serial.print((char)(msg[i]));
}
free(msg);
Serial.println();
delay(200);
}
}
}
[/sourcecode]
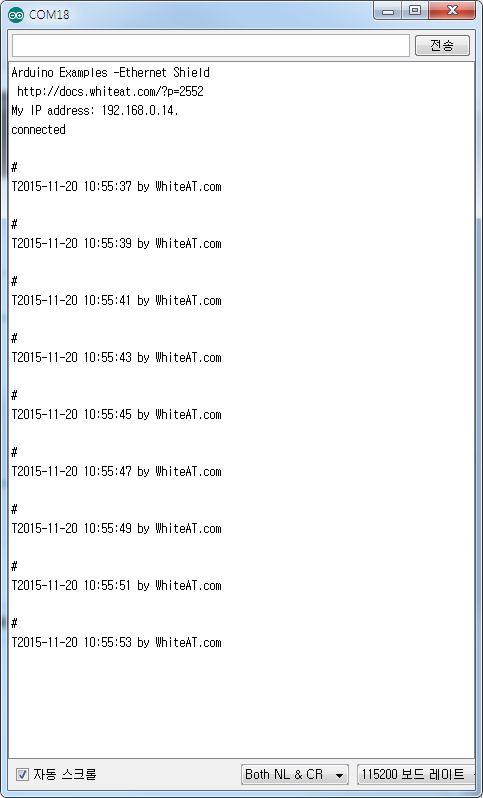
결과 화면
일정 간격으로 서버에서 현재 시간을 가져옵니다.
제품 구매
아두이노 이더넷 쉴드는 https://kit128.com/goods/view?no=145 에서 구매하실 수 있습니다.
