목차
키보드 입력
프로세싱에서는 키가 눌리면 호출되는 keyPressed() 함수로 키보드를 처리할 수 있습니다.
따로 선언할 필요 없이 사용 가능합니다.
캐릭터 움직이기
프로세싱에서는 키가 draw() 함수에서 캐릭터를 출력할 수 있으며 캐릭터의 출력 좌표를 변경하여 캐릭터를 움직이게 할 수 있습니다.
소스코드
전체 코드는 http://whiteat.com/230155 에서 제공됩니다.
// Arduino processing play Example #00
//
int WIDTH = 680;
int HEIGHT = 853;
int lastTime=0;
int setTimer = 10;
PImage imageFly = new PImage() ;
PImage imageGun = new PImage() ;
int gun_x = 0;
int gun_y = 0;
PImage imageBG = new PImage() ;
int x,y;
void setup()
{
size(680,853);
x = WIDTH/2-80;
y = HEIGHT/3*2-80;
imageFly = loadImage("fly.png");
imageGun = loadImage("gun.png");
imageBG = loadImage("bg.jpg");
image(imageBG,0,0,WIDTH,HEIGHT);
surface.setTitle("Processing Play Example #00 - https://docs.whiteat.com/?p=6398");
}
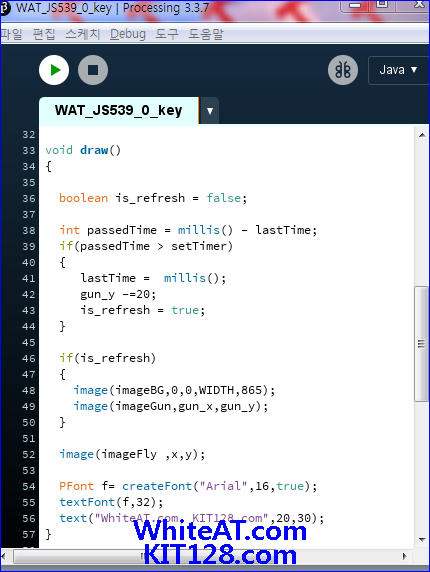
void draw()
{
boolean is_refresh = false;
int passedTime = millis() - lastTime;
if(passedTime > setTimer)
{
lastTime = millis();
gun_y -=20;
is_refresh = true;
}
if(is_refresh)
{
image(imageBG,0,0,WIDTH,865);
image(imageGun,gun_x,gun_y);
}
image(imageFly ,x,y);
PFont f= createFont("Arial",16,true);
textFont(f,32);
text("WhiteAT.com, KIT128.com",20,30);
}
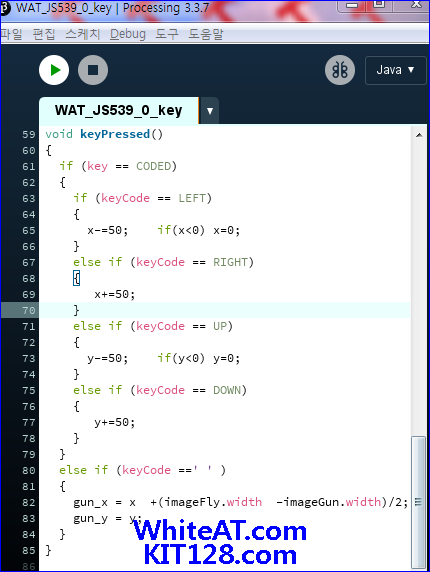
void keyPressed()
{
if (key == CODED)
{
if (keyCode == LEFT)
{
x-=50; if(x<0) x=0;
}
else if (keyCode == RIGHT)
{
x+=50;
}
else if (keyCode == UP)
{
y-=50; if(y<0) y=0;
}
else if (keyCode == DOWN)
{
y+=50;
}
}
else if (keyCode ==' ' )
{
gun_x = x +(imageFly.width -imageGun.width)/2;
gun_y = y;
}
}
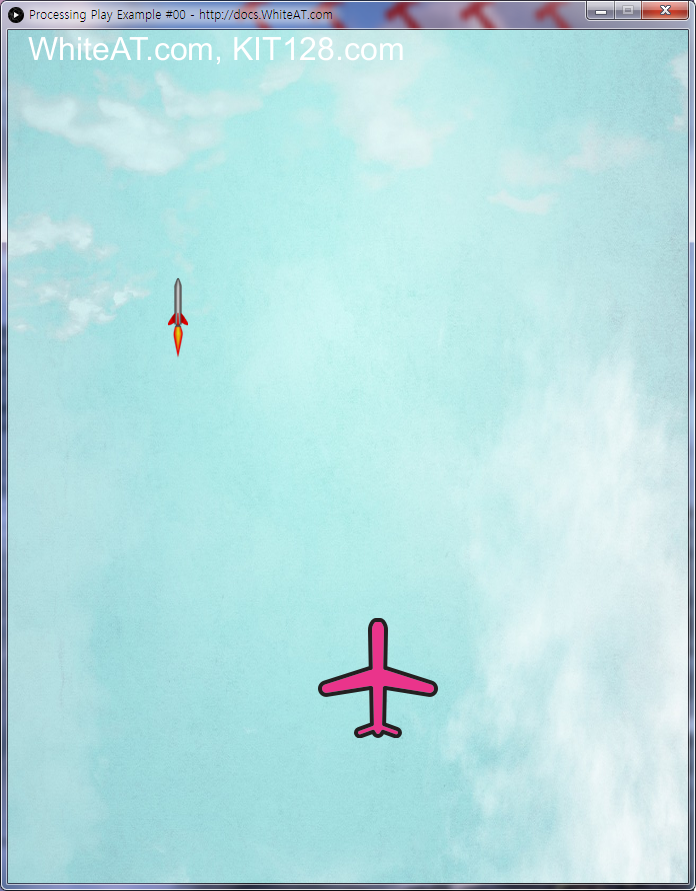
결과
키보드의 방향키에 따라 비행기가 움직이며 스페이스바를 누르면 미사일이 발사됩니다.
가장 기본적인 기능만 있으며 직접 다양한 기능을 추가 할 수 있습니다.